Workspace
Markdown
Write and read Markdown in Live view — formatted as you type — or as plain source, with tables, code blocks, links and pictures.
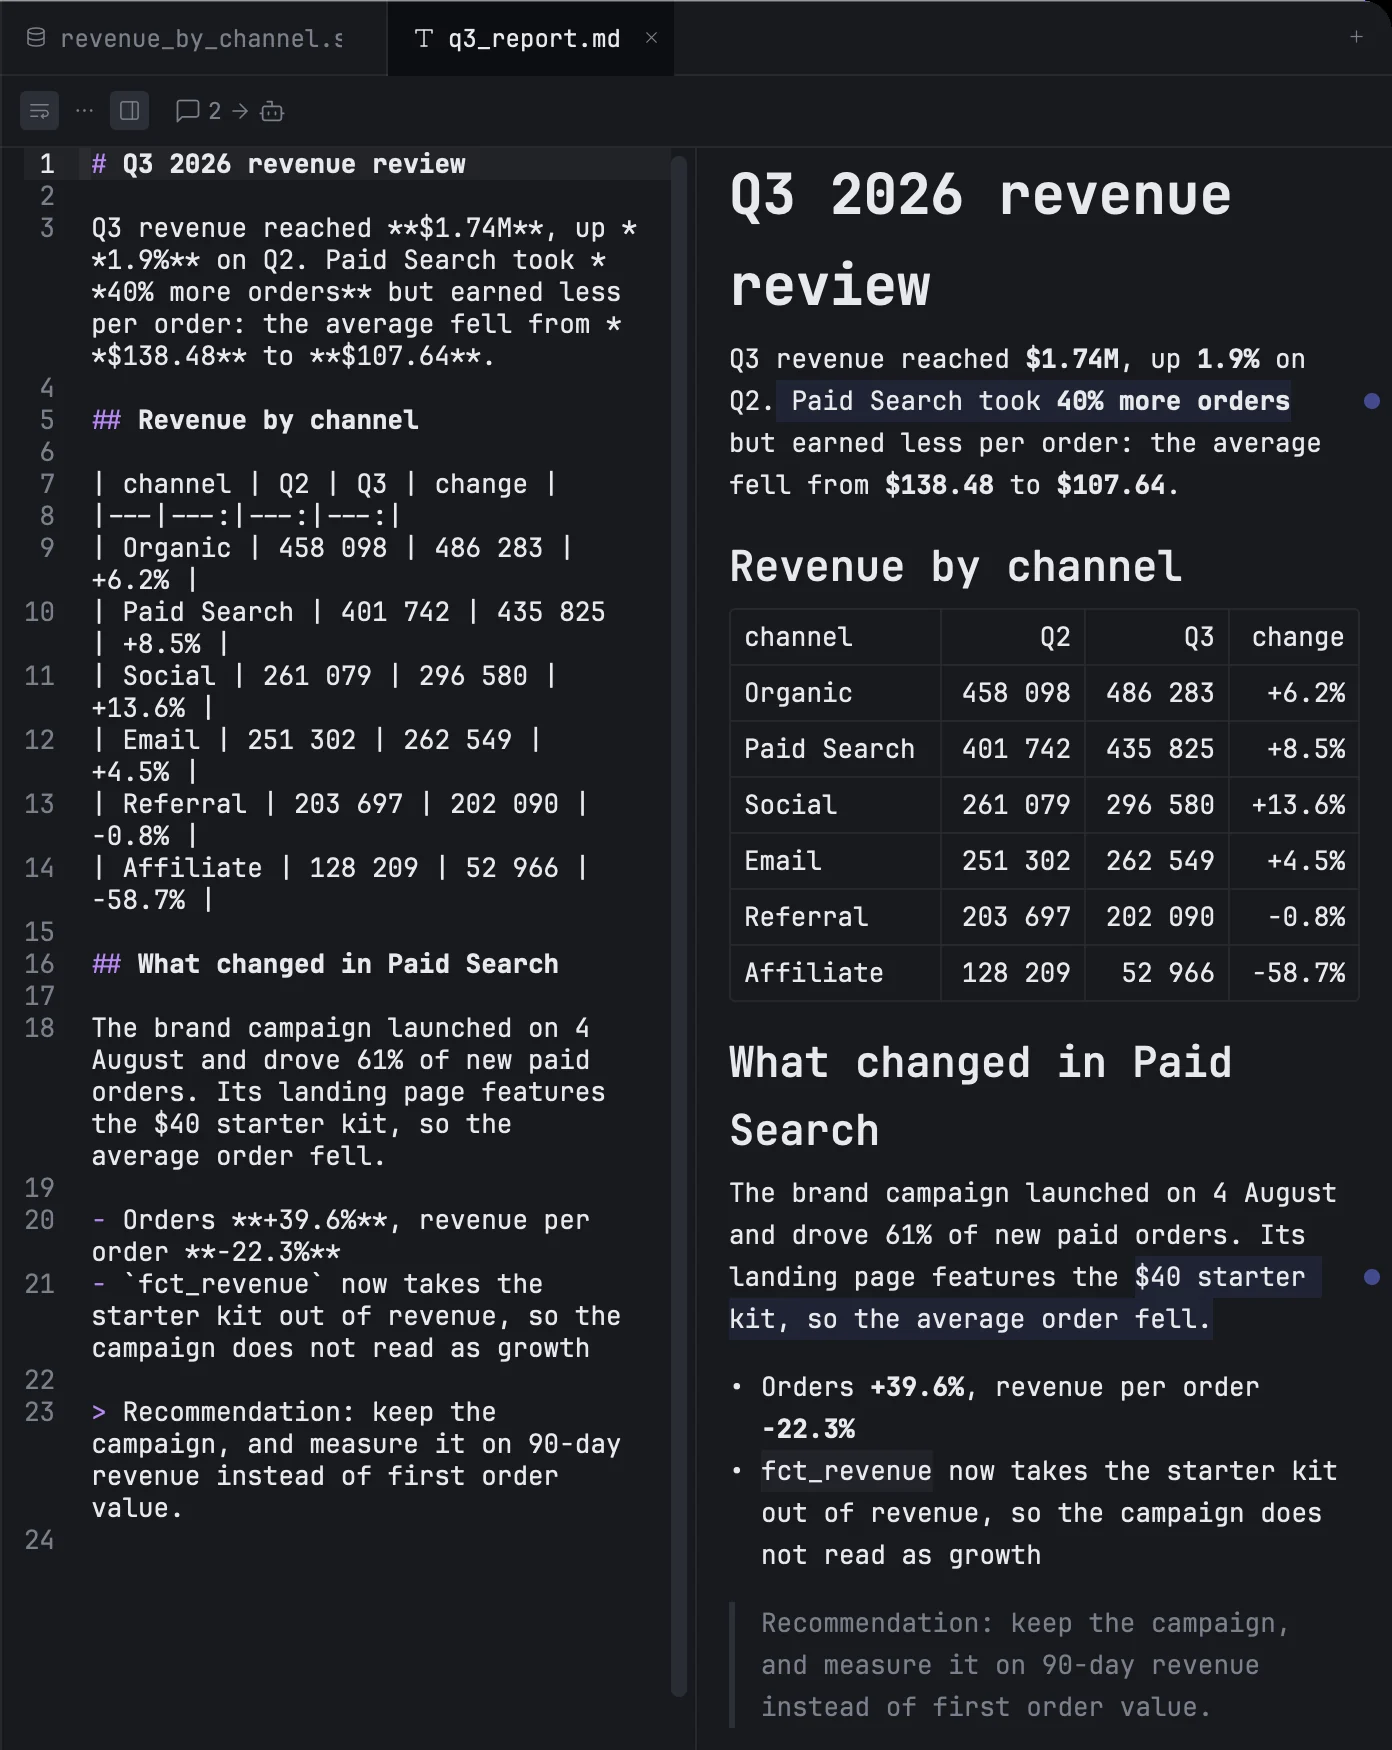
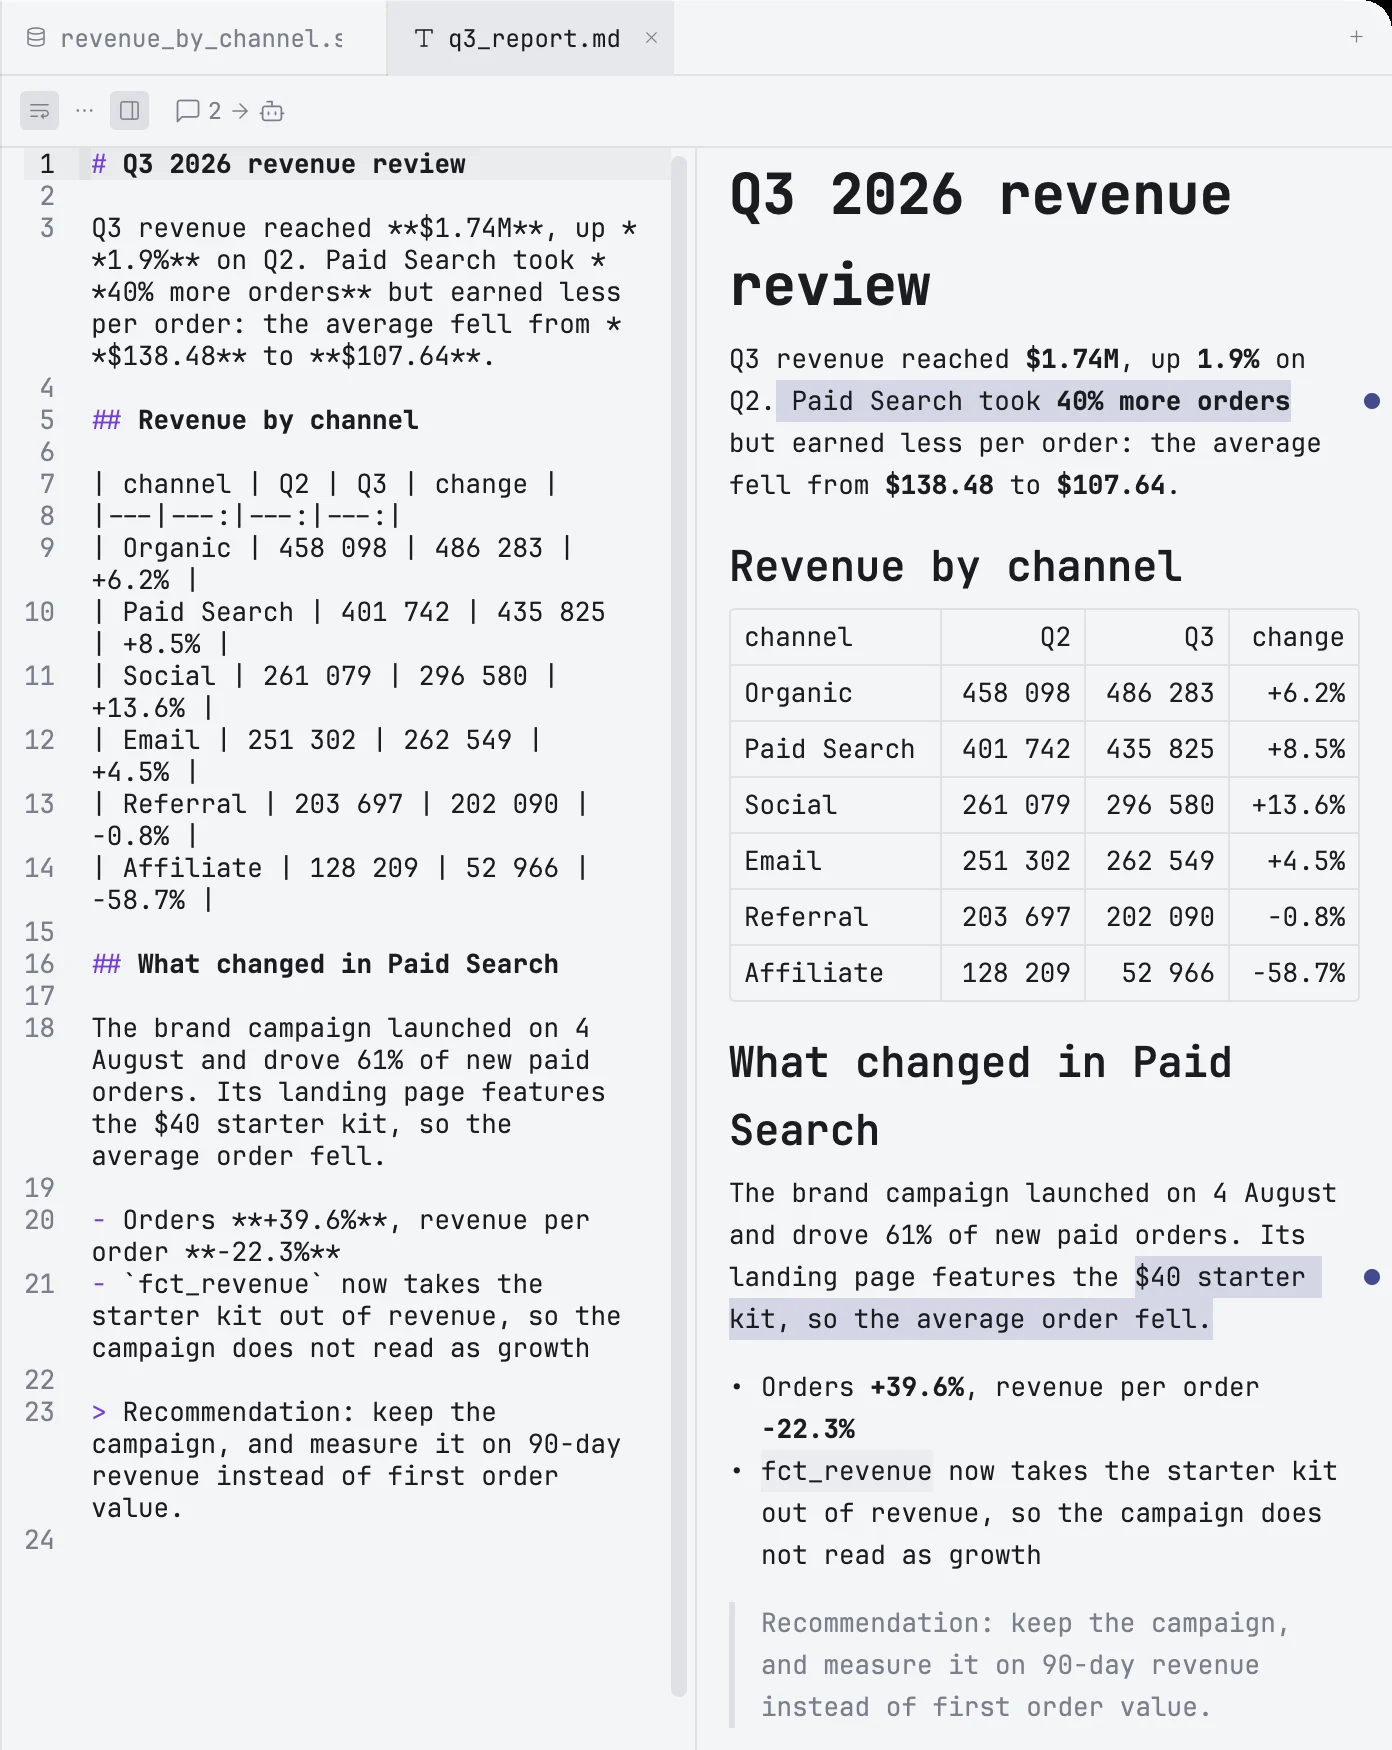
A .md file opens in a Markdown tab. It has two views of the same text: Live, the default, where the document is drawn formatted and you type straight into it, and Source, the plain Markdown in the code editor. The first button in the tab's toolbar shows which one you are in and switches between them; the text, the selection and undo stay as they are.
In Live you do not see Markdown's marks: **bold** is bold, a heading is a heading, a list has bullets. Type the marks as usual — ## at the start of a line, **word**, - for a list — and they turn into the formatting as you go. ⌘Z right after takes back the formatting and leaves what you typed.
Live sets its text in San Francisco, the font of macOS, and keeps code in the editor's monospaced font. Editor → Markdown Font in Settings picks another one; text and headings follow the editor's font size. A notebook's Markdown cells use the same font.
Formatting
The toolbar has buttons for headings, bold, italic, inline code, links, pictures, quotes, bullet, numbered and task lists. When the tab is narrow, what does not fit moves into its … menu. The same commands work in Live and in Source.
| Keys | What it does |
|---|---|
| ⌘B / ⌘I | Bold / italic the selection or the word at the caret; again inside it to undo it |
| ⌘⇧X | Strikethrough |
| ⌘K | Add or edit a link |
| ⌘⌥1 … 6 | Heading of that level; the same level again makes it a paragraph |
| ⌘⌥0 | Back to a paragraph |
With nothing selected, ⌘B, ⌘I and ⌘⇧X turn the style on or off for what you type next.
Lists
↩ continues a list with the next bullet, number or an empty checkbox; ↩ on an empty item ends the list. ⇥ and ⇧⇥ indent and outdent an item. Click a task's checkbox to tick it.
Tables
Tables are drawn as tables and edited in their cells. ⇥ and ⇧⇥ move to the next and previous cell, and ⇥ in the last cell adds a row. ↩ goes to the cell below, and out of the table from the last row.
Right-click a cell to insert a row or a column, delete one, or set a column's alignment. Hover a row or column boundary and click the + to insert one there. Hover a table and the button at its top-right copies it as CSV.
Code blocks
Type ``` on a line of its own and press ↩ for a code block. Its language is the label at the top-right: click it to pick another. Every block has a Copy button, and a SQL block also has Open in new SQL tab, which puts the query in a new tab without running it.
Links and pictures
Put the caret in a link, or click a picture, and a small panel under it shows the address (or the picture's path and its alt text) to edit, with Open. ⌘-click a link to open it: a web address in your browser, a file in mxds, a #heading in the same document.
Paste a picture — a screenshot, say — and mxds saves it to an assets folder next to the document and links it there. It never replaces a file that is already there. A document that has never been saved cannot take a pasted picture: save it first.
Copy and paste
Copying from Live puts both the Markdown and the formatted text on the clipboard: paste into another editor or a terminal and you get Markdown, paste into Slack, Mail or a document and you get the formatting. Pasting from a web page or a word processor turns its formatting into Markdown.
Find and replace
⌘F finds in Live and in Source, and replaces too. In Live it searches the text you see, table cells included.
When the file changes on disk
When an agent or another app changes the file, the open tab picks up the change by itself, as one step you can undo, and the lines that changed light up for a moment. The highlight fades over a few seconds; a change further down lights up when you first scroll to it. The button with an eye and a sparkle in the toolbar turns the highlight off.
Comments for an agent
Select a passage in Live to leave a comment on it for the agent in the terminal. See Reviewing an agent's work.